Soul-satisfying old-fashioned strawberry shortcake.
My wife just pulled the pregnancy card. To be fair she hasn’t been especially demanding except for the occasional desperate and frantic request for trashy ice cream treats. A couple of days ago Regina told me unequivocally that she wanted, no required strawberry shortcake. And neither that phony, easy-to-make strawberry shortcake on the prepackaged spongecake you see moldering in the produce aisle next to the berries, nor some “shortcut” shortcake utilizing frozen Sara Lee pound cake, but real, honest-to-goodness old-fashioned strawberry shortcake with hand-whipped cream scented with vanilla, great berries, and warm sweet biscuits.
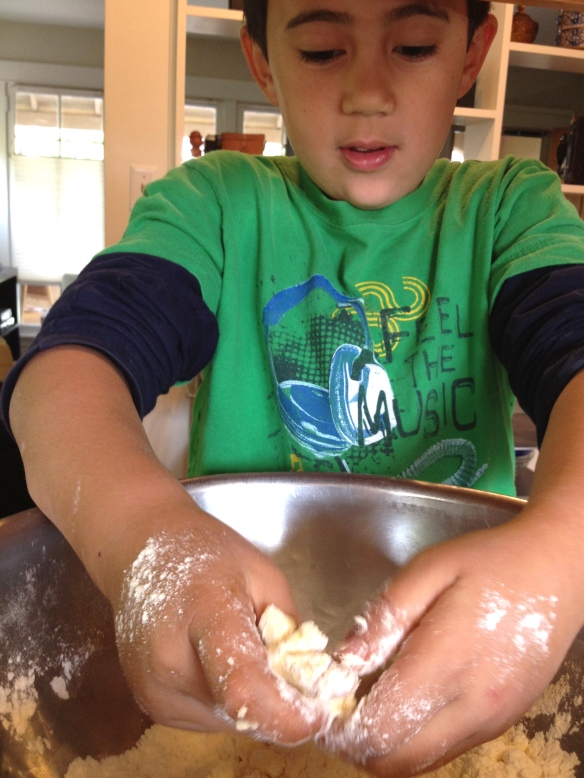
Of course she had to have it, and of course I had to make it. I got my son Bennet into the shortcake-making process and he loved it! He helped make the biscuits and assisted in assembly. As always, I encourage you to get your kids involved in the kitchen. The lessons learned are invaluable; it’s important for kids to garner an understanding of where their food comes from and how it’s made. It helps build self-confidence and the shared experience is critically important in building great family bonds. I could ramble on about this topic for hours, but you get the idea. Let’s make strawberry shortcake!
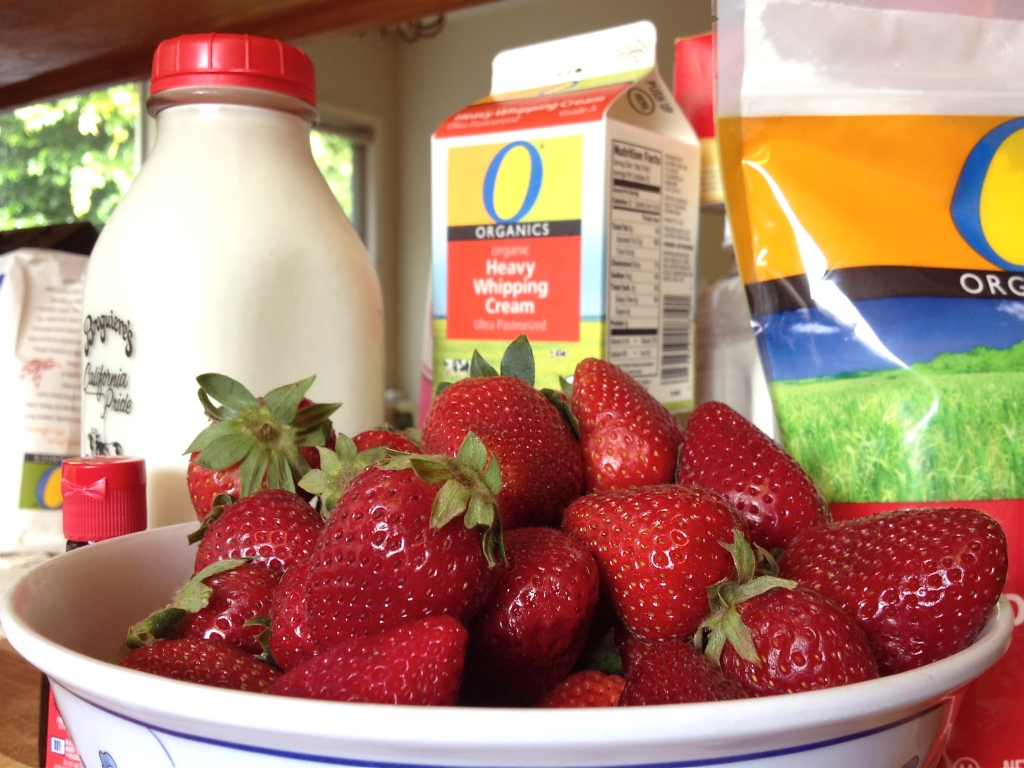
On Wednesday morning I got some excellent gaviota strawberries from the Santa Monica Farmer’s Market. The peak season for California strawberries runs from April to June, although you can get good-to-great berries well after June. But right now I’m finding some superb berries — moist, sweet, not too seedy, very berry-full (not really a word, I know).
You’ll need about five cups of hulled, sliced strawberries for this recipe. It’ll make enough for four to six huge desserts.
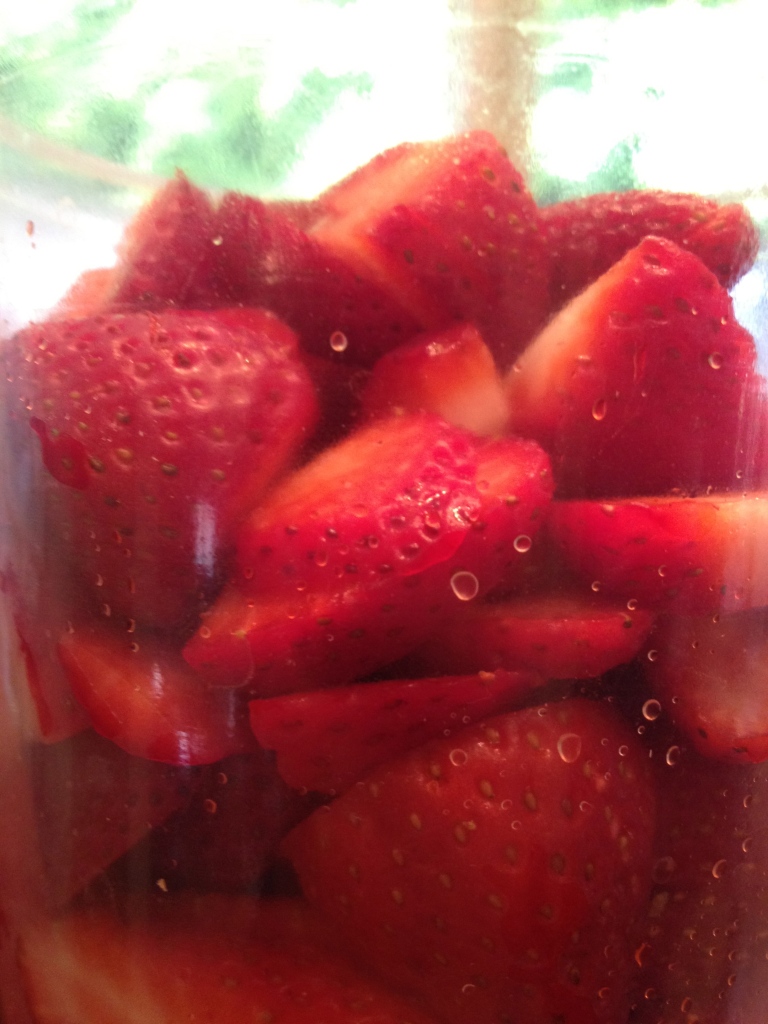
Now do this. Take four cups of the sliced strawberries and sprinkle with 1/3 cup of sugar. Toss well and refrigerate until you’re ready to assemble dessert. Reserve the remaining cup for the strawberry coulis (see below).
Of course strawberries are the star of the show, but they’re not the only component in strawberry shortcake. You also have, in no particular order:
- The biscuit. I’ll walk you through a simple sweet biscuit recipe.
- A strawberry sauce, called a coulis (koo-lee).
- Whipped cream from scratch. Sure, you can use Reddi-Whip in a refrigerated can, but fresh cream is so much better!
- Vanilla ice cream. This is not a classic ingredient, but I love a little bit layered in with the warm biscuit. I used Vanilla Bean Ice Cream from McConnell’s, a superb ice creamery out of Santa Barbara.
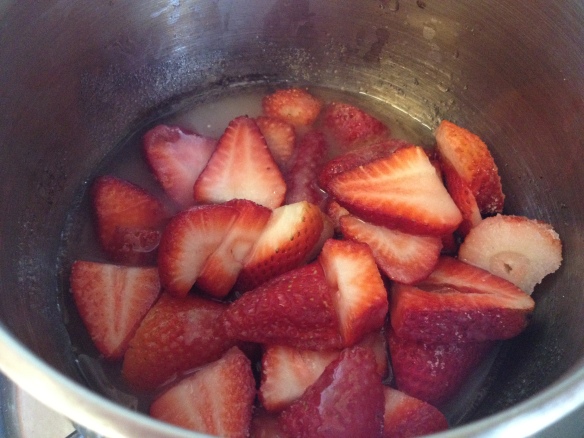
I made the coulis first, to give it plenty of time to cool down before dessert time.
You’ll need:
- 1 cup sliced strawberries
- 1/3 cup sugar
- 2 tablespoons water
- 1 teaspoon lemon juice
Next step is to make the Biscuits! This is where I got Bennet involved in the process.
You’ll need:
- 2 cups all-purpose flour
- 3 teaspoons baking powder
- 1/2 teaspoon fine sea salt
- 1/4 cup sugar
- 1 stick cold unsalted butter, cut into little cubes
- 3/4 to 1 cup cold whole milk
- a little heavy cream
- a little granulated sugar
;
;
Place the biscuits on a sheet pan lined with parchment paper. Brush a litlte cream on the tops and then sprinkle a little bit of sugar over the cream.
Bake biscuits on the middle rack for about 15 minutes or until the biscuits have risen and cracked a bit on the top. They should be slightly browned but not dark.
Your biscuits are ready!
Now, to make the whipped cream.
You’ll need:
- 1 cup heavy whipping cream, preferably organic
- 1/2 teaspoon vanilla extract
- 2 tablespoons powdered sugar
- 1 large stainless steel bowl
- 1 large balloon whisk
- Split your biscuits horizontally. Smear a little softened butter on the cut sides.
- Broil the biscuits (about six inches from your heating element) until they are just lightly browned.
- Place the bottom half of a warm biscuit on a plate.
- Top biscuit bottom with about a quarter cup of vanilla ice cream
- Top ice cream with about a quarter cup of strawberries.
- Top strawberries with about a quarter cup of whipped cream
- Top cream with the top of the biscuit, flipped cut-side up.
- Add more berries and more cream.
- Drizzle dessert with strawberry coulis.
- Dust the plate with powdered sugar if you like.


Sound delicious, but it is still snowing here!! No strawberries!!